|
The first order of business is to get the hull sides laid out, cut out, and joined. You'll do this over at least a couple of days to allow epoxy to cure.
At this point you need to decide which side is which for your plywood. In our case, the two sides were both very good, but one side was completely clear of any blemishes or flaws, while the other side had a few little patches where the mill had removed small knots from the veneer. Since we were going to fiberglass and paint the outside of the hull, it made sense to put the poorer side out and the "best" side in.
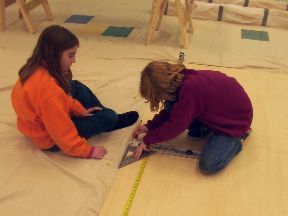
Lay your two sheets of 1/4" plywood out end to end on the floor, good side down. Make sure the floor is clean so you don't scar up your wood! Tack the ends together tightly with a couple of patches of duct tape. Measure every 2 feet from one end and strike a station line perpendicular to the edge of the wood. Number the stations to keep everything clear.
 |
|
Draw
the station lines every 2 feet.
|
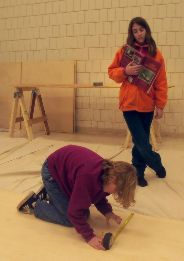
Next mark the sheer height at the stations and at the bow and stern points. Temporarily drive small nails at each of these marks. (The sheer is the top edge of the hull.)
 |
 |
|
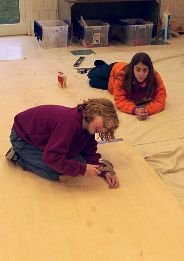
Adrienne
reads off the sheer height measurements at each station for Emily.
|
Drive
small nails at sheer height at each station.
|
 |
|
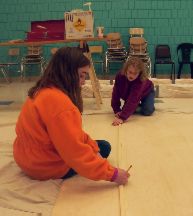
Bend
and hold a batten to the nails and trace the sheer line.
|
Bend a long flexible piece of wood against the nails and trace the sheer line along its edge. Mark the bow and stern angles and you've got one hull side outline ready to go.
Now, here's a little trick that'll save you some time. Rather than repeat the whole marking exercise for the other side of the boat, just stack the plywood so you can cut both sides of the hull at once. Be careful, though! Any mistakes will spoil two pieces instead of just one!
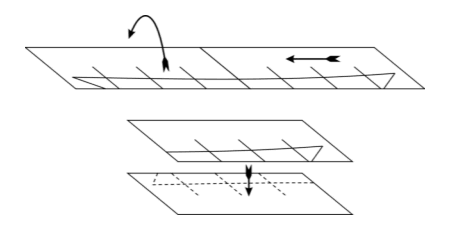
First remove the duct tape you used to tack the pieces together. Take one piece of plywood and flip it over so the part with the hull outline is underneath and on the opposite edge from before. Take the second piece of plywood and lay it on top of the first, as in the figure below. You now have the two pieces stacked, good side in, with half of the hull side outline on each long edge.
 |
|
Flip
and stack the plywood so you can cut both sides of the hull at once.
|
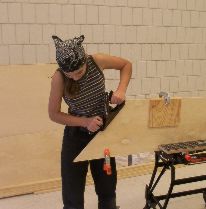
Now with only two cuts, you'll be making right and left pieces of the fore and aft hull side halves. As long as you're careful to line up the straight edges of the plywood for each cut and clamp the pieces together securely, both sides will be exactly the same.
It's a good idea to practice on some scrap if you haven't run a saber saw before. Once you're ready, set the plywood up on some sawhorses or a worktable, make sure it's clamped together the right way, and tightly enough that it won't shift while you're cutting, and get started.
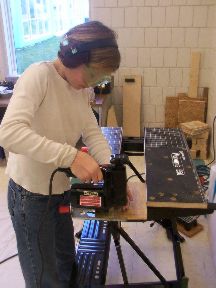 |
Trying
out the saber saw on scrap plywood.
|
|
Taking
turns cutting out.
|
|
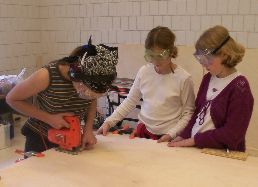 |
Leave the pencil line and a little bit of extra stock to remove, and be careful not to let your cut wander into the part you want to keep! The steadier your line and the less scrap you leave without cutting too far, the less you'll need to clean up with the plane.
 |
 |
|
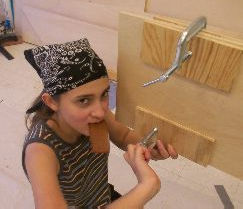
Clamping
hull side pieces together.
|
Planing
the edges fair.
|
When you've got all four pieces of the hull sides cut out, match up the foreward or aft pairs, clamp them together, good sides in, and plane the edges smooth and to the lines.
 |
|
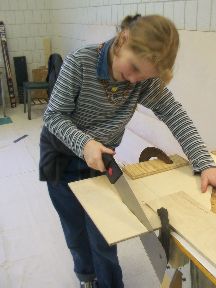
Cutting
out butt plates.
|
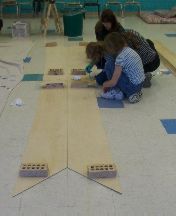
The front and back halves of each hull side are joined amidships with a simple butt plate of the same 1/4" plywood and epoxy. Set up both sides, inside up, and position the butt plates to allow the chine logs to pass by at the bottom edge. Spread epoxy on all surfaces to be joined, and weight it with some handy bricks.
 |
 |
|
Butt
joint gluing setup.
|
Done!
Note plastic to protect floor.
|
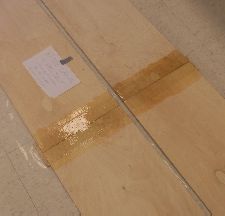
When the joints have cured, flip the hull sides over and apply 4" fiberglass tape, wetted with epoxy, to the outside surfaces. Wait a day and you should have a couple of hull sides that'll last for a really long time.
 |
|
Fiberglass
tape and epoxy.
|
Continue with Stem, Frames & Transom